
Org Onboarding
Summary
Get your organization set up before connecting your first MCP clients.
Log in to create a new organization
Navigate to the app login to login and create the owning organization account.
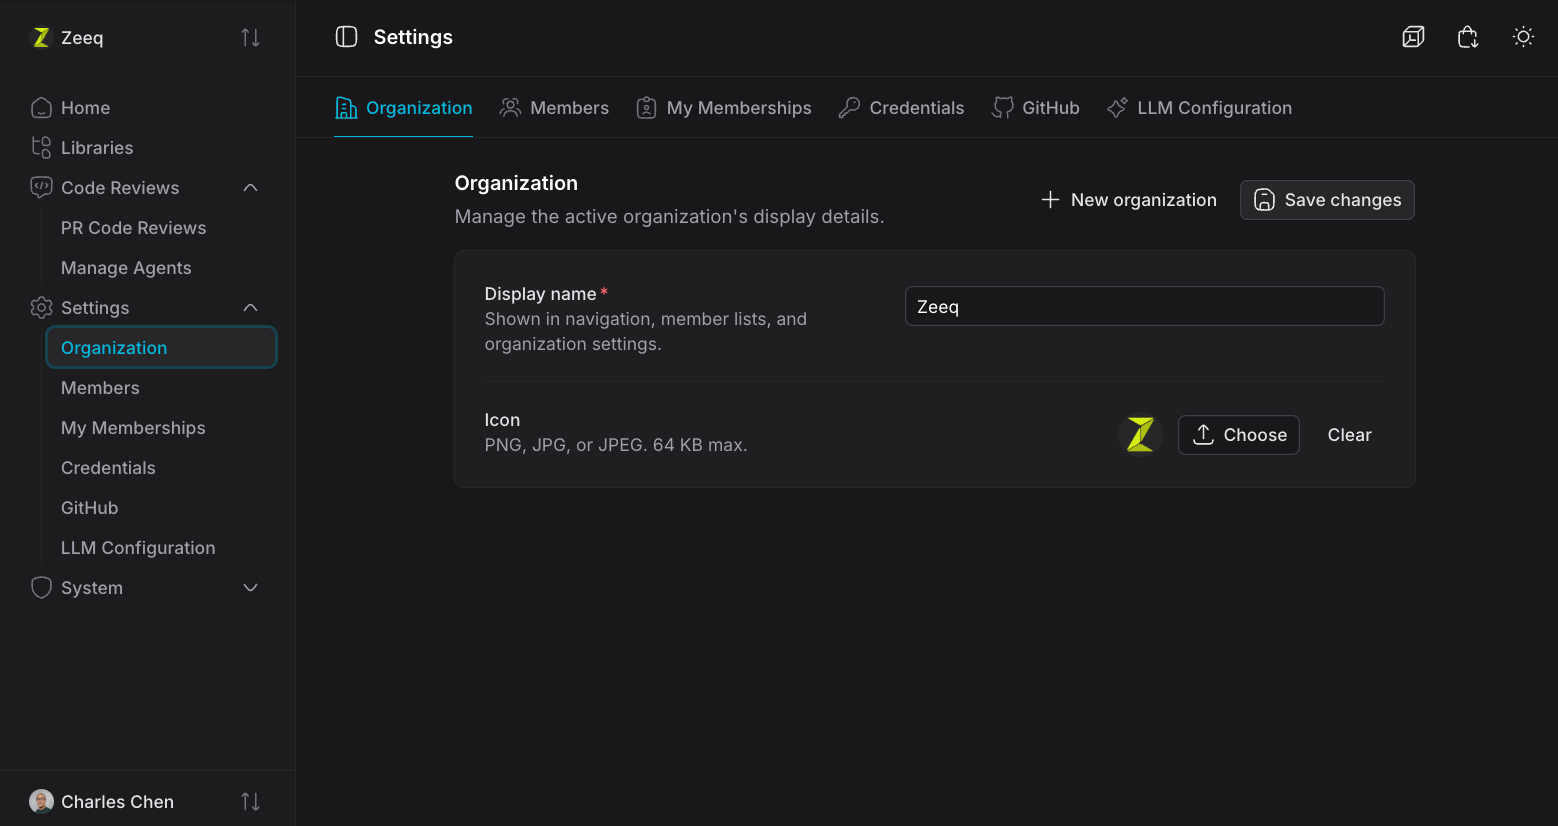
(Optional) update your organization name and logo:
Connect GitHub App
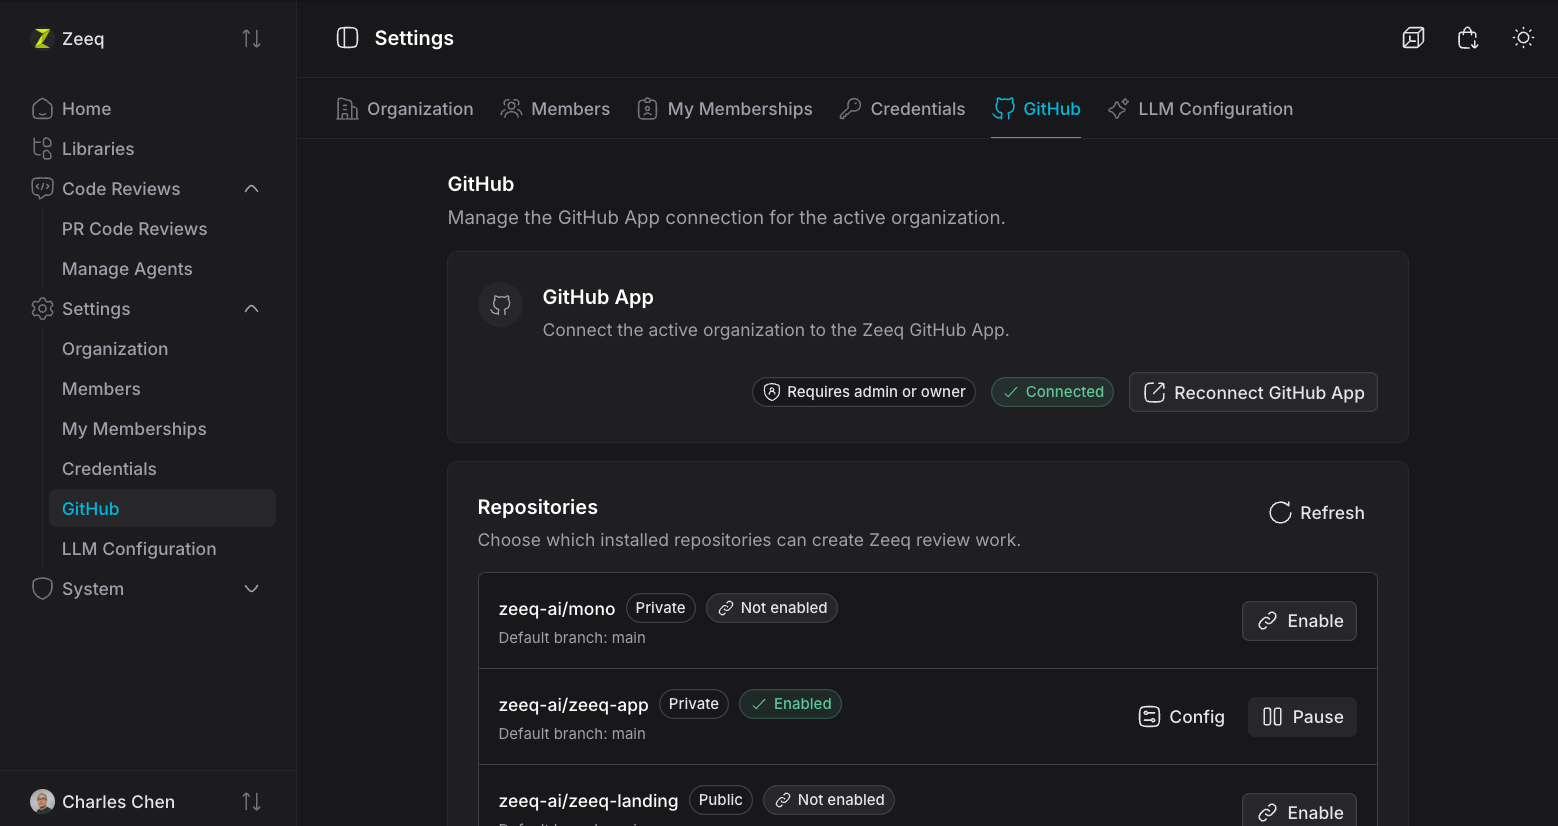
From Settings > GitHub, click Connect GitHub App to install the Zeeq GitHub App to your organization.
Enable at least one repository after installation.
Configure LLM options (BYOK)
From Settings > LLM Configuration, add your API key (BYOK) by clicking on Manage keys.
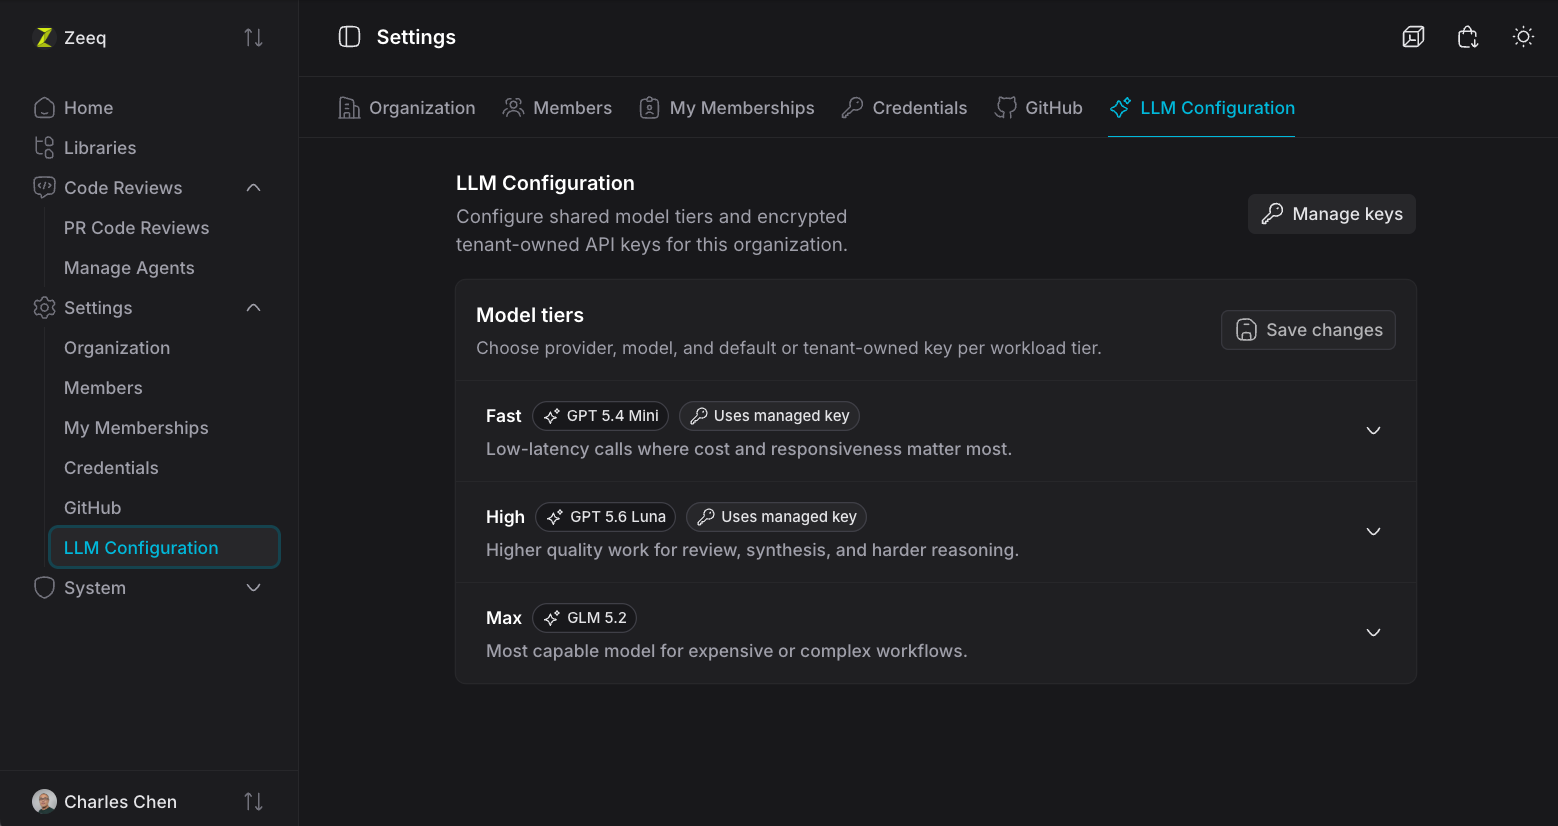
For each tier of models, select an LLM model to use.
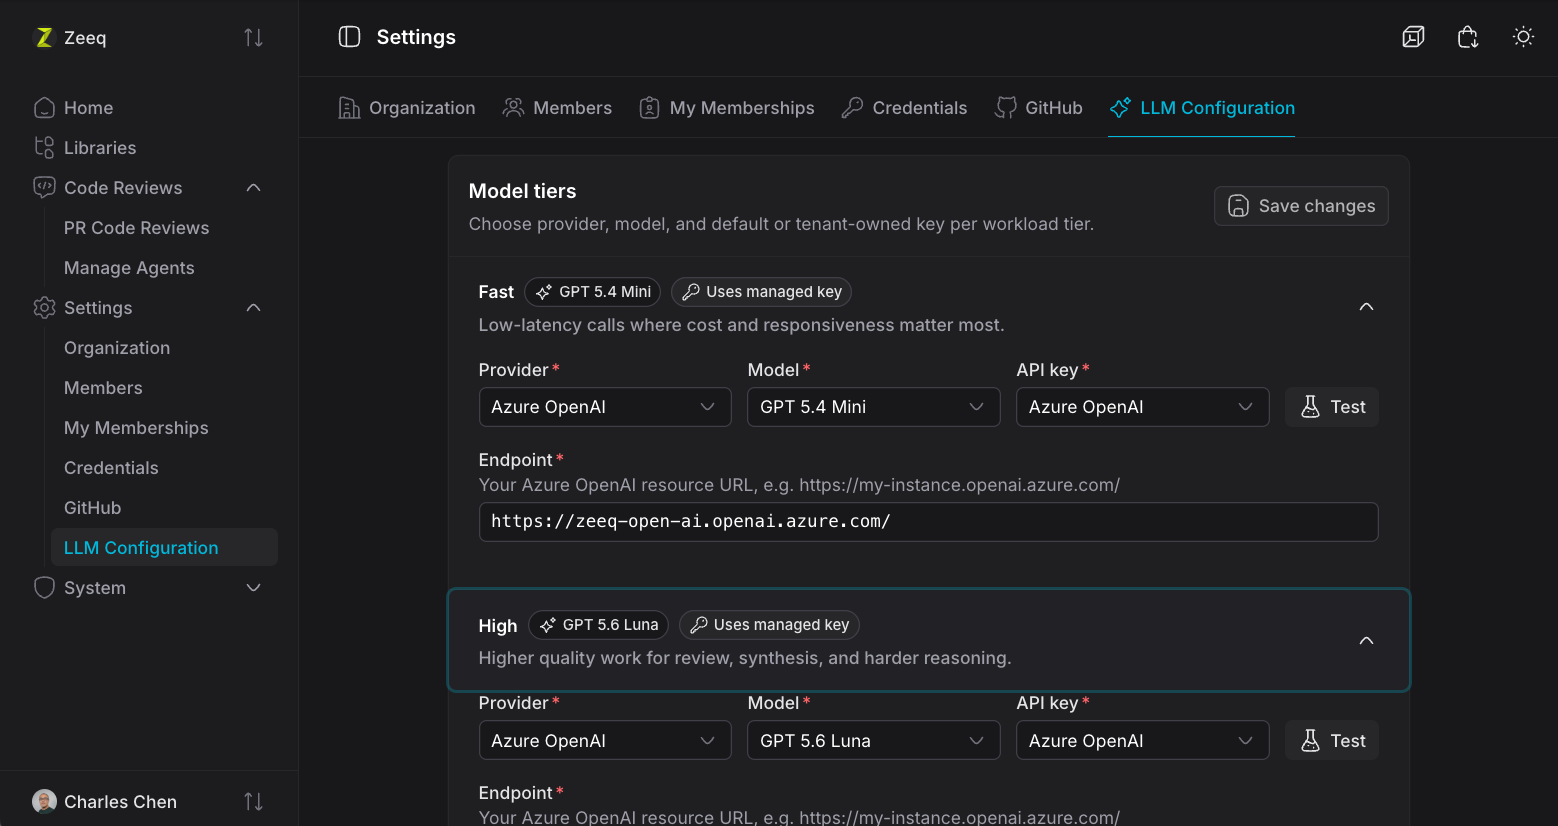
Tiers are used when configuring code review agents to use a specific model for performing the code review.
This allows different agents to be configured with different LLM models based on whether the agent is biased for speed or depth (recommendation: bias for speed)
Recommended configuration:
| Tier | Model | Reasoning |
|---|---|---|
| Fast | GPT 5.4 Mini or GPT 5.6 Luna | Offers the best latency which speeds up agent iteration cycles. |
| High | GPT 5.6 Luna | Slightly slower than GPT 5.4 Mini but offers better reasoning capabilities. |
| Max | GPT 5.5 | Higher capabilities, but still reasonable. |
Optimizing for speed is preferred; only use more time-consuming models if there is observation that the faster models are not performing well enough. In practice, when given very specific and focused instructions, GPT 5.4 Mini is the right balance of comprehensiveness and speed.
Invite organization members
From Settings > Members, add new members, assign roles, and invite the members
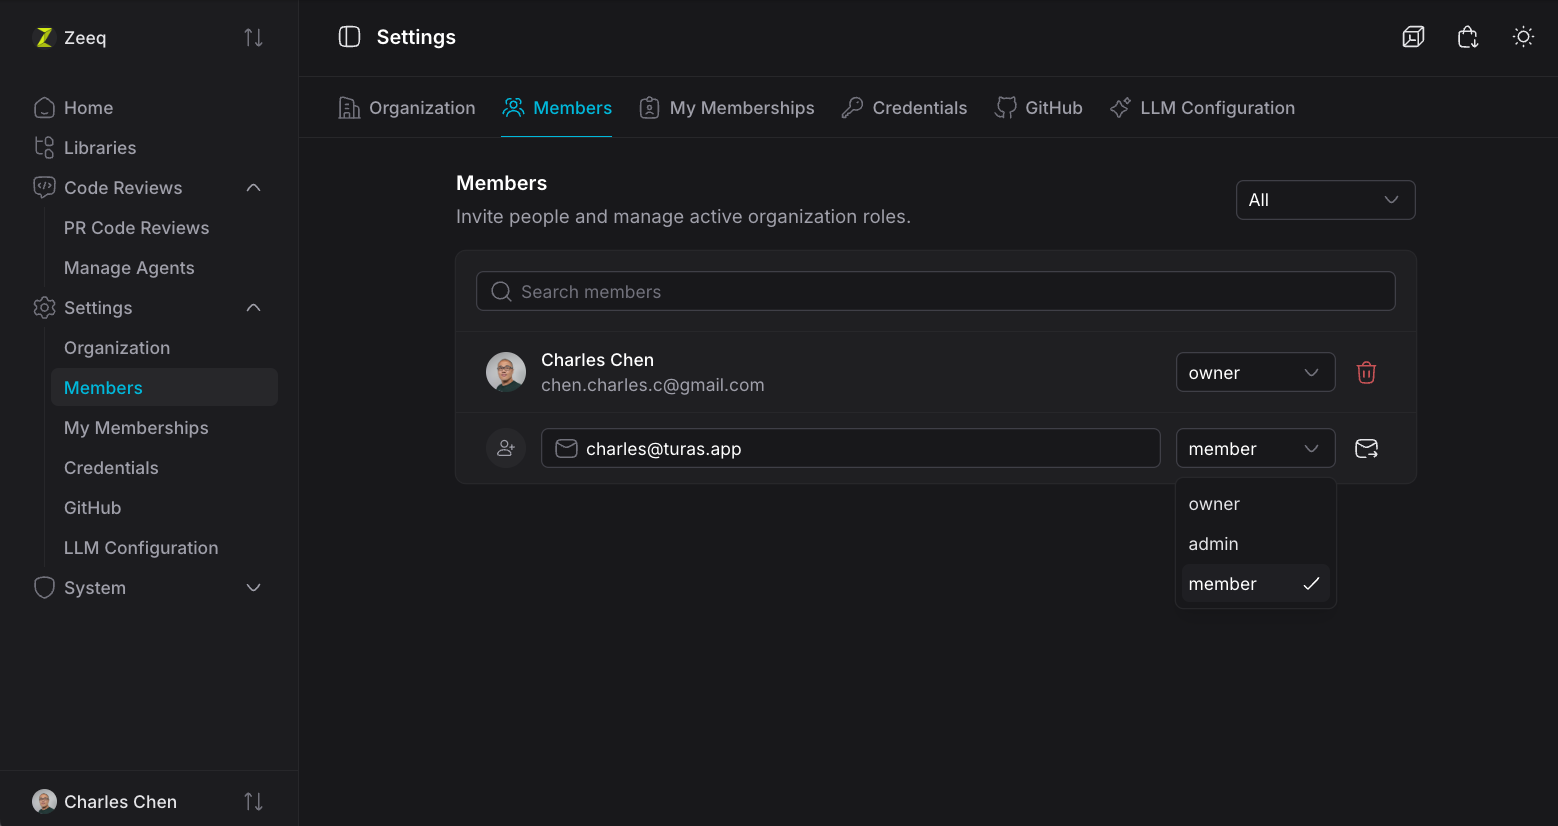
(Optional) Deploy code review agents
Navigate to Code Reviews > Manage Agents to set up file filters and deploy your first code review agent.
The Global file filters allow you to always exclude files from code reviews or only include specific files. This should always be done for large, generated files to reduce the context
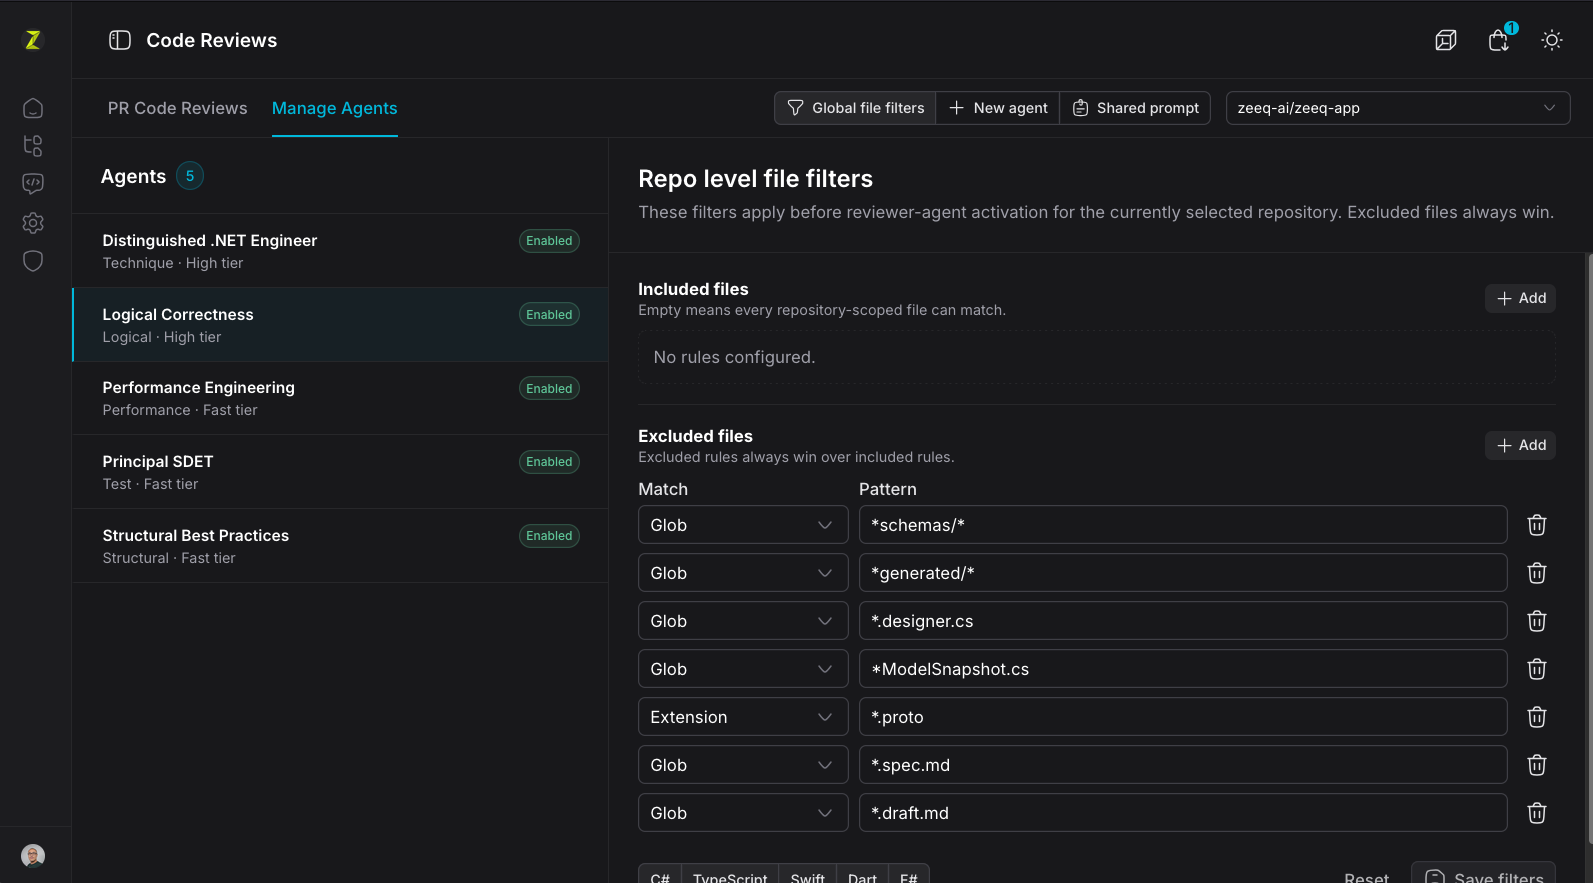
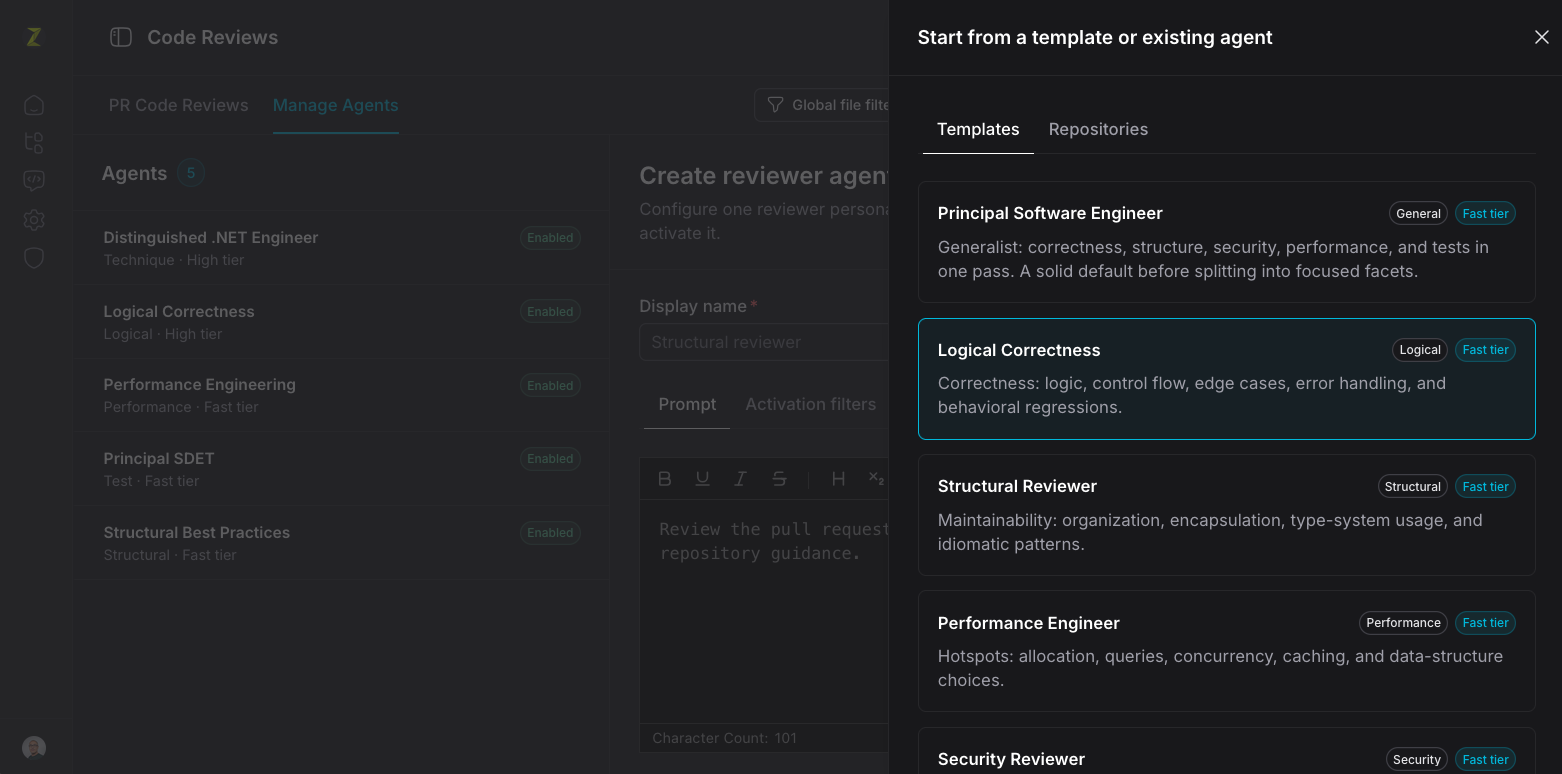
Click on the New agent button to deploy an agent from a pre-defined template that you can customize:
(Optional) Create your first library
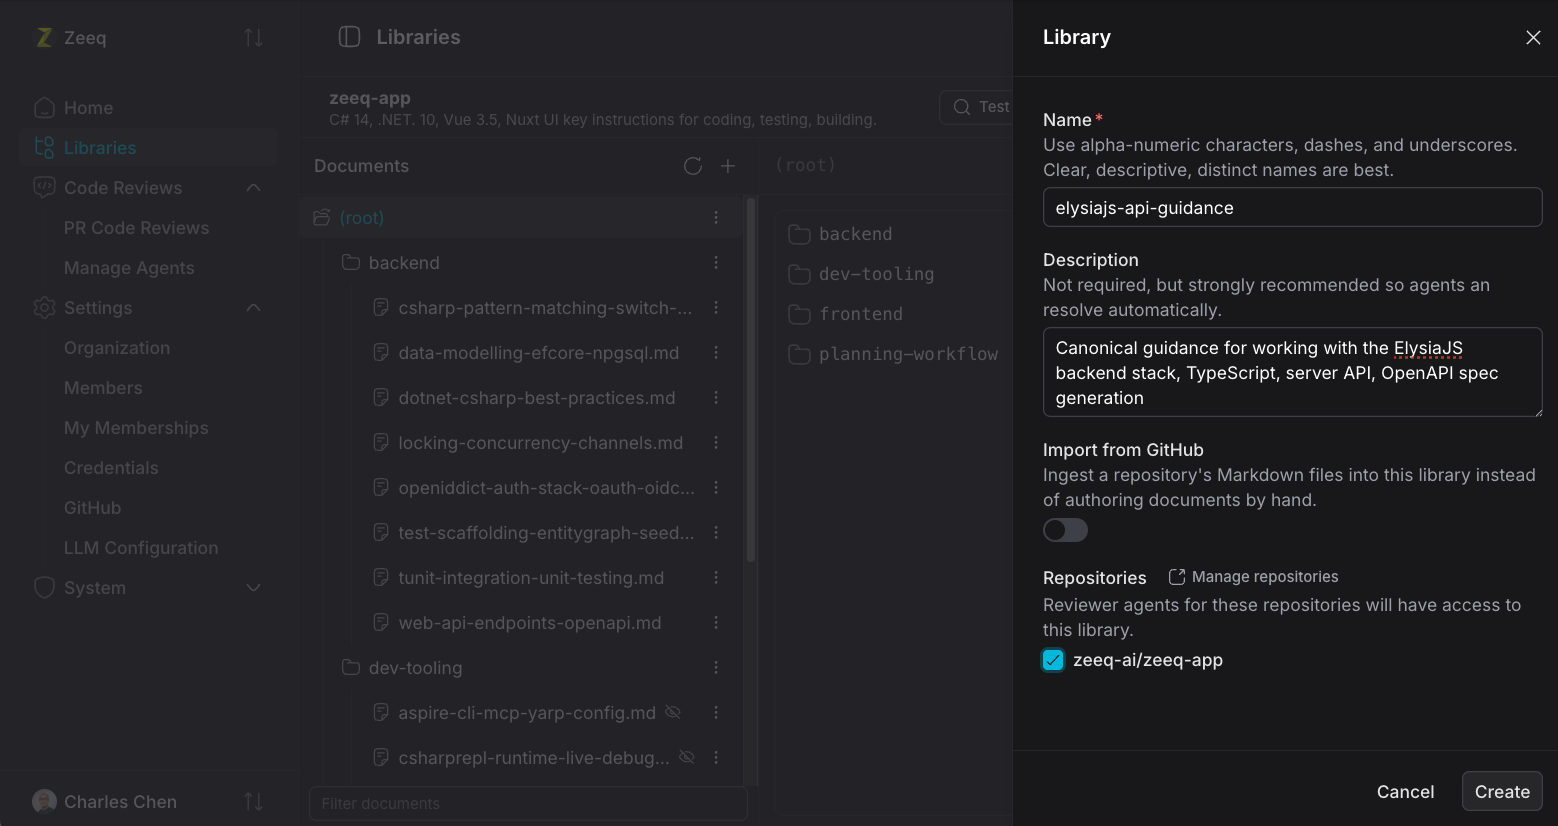
From the Libraries page, click New to create a new library.
- Enter a name (
a-z,-,0-9) for the library; use a descriptive name since this will provide hints to the agents. - Enter a description for the library; use a short, terse paragraph as a hint to agents.
- Choose to import from GitHub (using sparse checkout of
*.md,*.mdc, and*.mdxfiles) or create a library directly in Zeeq (recommended for starting out). - Map the library to a GitHub repository so code reviews against that repository know to use this library as canonical guidance.
Connect agents
The next step is to connect your first agents.
You can alternatively use MCP inspector to test the setup.
DANGEROUSLY_OMIT_AUTH=true MCP_AUTO_OPEN_ENABLED=true npx \
  @modelcontextprotocol/inspector
Then select Streamable HTTP for the Transport Type and enter https://app.zeeq.ai/mcp for the URL.
See the next section for detailed instructions on connecting agents.